Introduction
Have you ever wondered how street lights automatically turn on after sunset and switch off at sunrise? The answer lies in light-sensing technology.
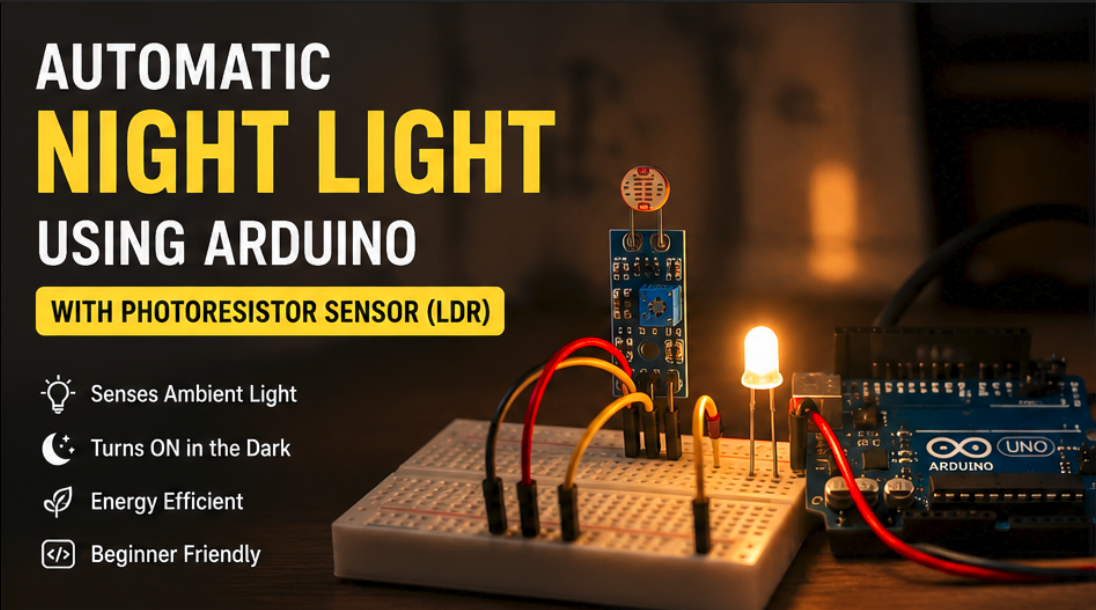
In this project, we will build a simple Automatic Night Light using an Arduino and a Photoresistor Sensor (LDR). The system continuously measures ambient light levels and automatically turns on an LED when the surroundings become dark.
This beginner-friendly project is perfect for learning analog sensors, sensor calibration, and basic automation concepts.
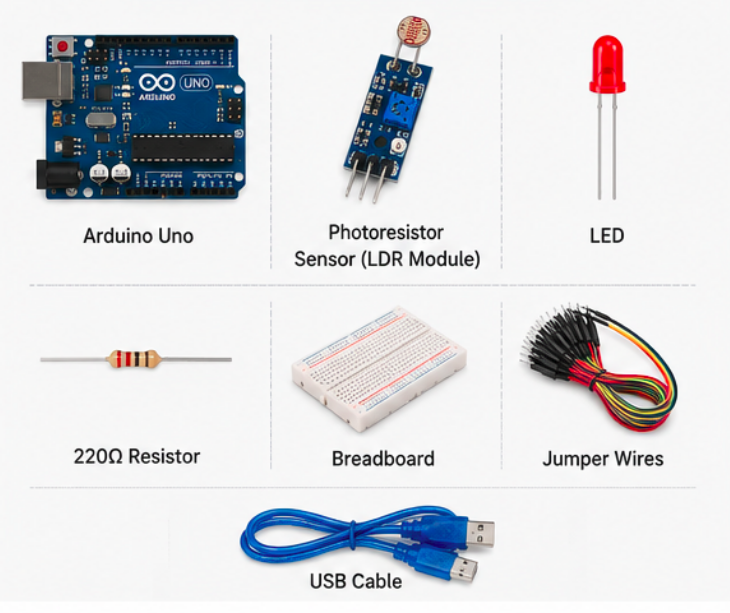
Components Required
- Arduino Uno
- Photoresistor Sensor (LDR Module)
- LED
- 220Ω Resistor
- Breadboard
- Jumper Wires
- USB Cable
How It Works
A photoresistor changes its resistance based on the amount of light falling on its surface.
- Bright light → Lower resistance
- Low light → Higher resistance
The Arduino reads the sensor value through an analog pin and compares it against a predefined threshold.
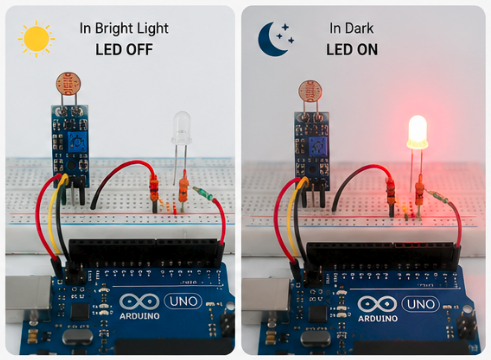
When the light level falls below the threshold:
- The LED turns ON.
When sufficient light is detected:
- The LED turns OFF.
This creates a simple automatic lighting system.
Circuit Connections
| Component | Arduino Pin |
|---|---|
| LDR Signal | A0 |
| LED Positive | D13 |
| LED Negative | GND |
| LDR VCC | 5V |
| LDR GND | GND |
Arduino Code
const int ldrPin = A0;
const int ledPin = 13;

void setup()
{
  pinMode(ledPin, OUTPUT);
  Serial.begin(9600);
}

void loop()
{
  int lightValue = analogRead(ldrPin);

  Serial.print("Light Value: ");
  Serial.println(lightValue);

  if(lightValue < 400)
  {
    digitalWrite(ledPin, HIGH);
  }
  else
  {
    digitalWrite(ledPin, LOW);
  }

  delay(100);
}
Code Explanation
Reading the Sensor
int lightValue = analogRead(ldrPin);The Arduino reads the current light intensity from the LDR sensor.
Decision Making
if(lightValue < 400)When the sensor value drops below 400, the environment is considered dark.
LED Control
digitalWrite(ledPin, HIGH);The LED turns on automatically to provide illumination.
Testing the Project
- Upload the code to your Arduino.
- Open the Serial Monitor.
- Observe the sensor values.
- Cover the photoresistor with your hand.
- The LED should turn ON.
- Remove your hand and expose it to light.
- The LED should turn OFF.
You can adjust the threshold value (400) according to your room's lighting conditions.
Real-World Applications
- Automatic night lamps
- Smart home lighting
- Garden lights
- Street light automation
- Energy-saving systems
- Security lighting
Possible Enhancements
- Add an RGB LED to indicate different brightness levels.
- Use a relay module to control AC bulbs.
- Display light intensity on an LCD1602 display.
- Integrate with IoT platforms for remote monitoring.
- Add a motion sensor for smarter automation.
Conclusion
This Automatic Night Light project demonstrates how a simple photoresistor sensor can be used to create practical automation systems. It introduces important concepts such as analog sensing, threshold-based control, and environmental monitoring. Whether you're a beginner learning Arduino or an enthusiast exploring smart home projects, this is an excellent project to start with.